Overview
Rhino’s Mapping Channels feature allows you to create multiple mapping variants for the same object. These variants can include different ways to unwrap textures, variations in texture positioning, or changes in scale.
Utilizing UV Channel/Set in V-Ray for Rhino
The UV Channel/Set feature in V-Ray for Rhino enables you to utilize Rhino's built-in Mapping Channels, giving you greater control over an object's UV mapping:
UV Channel/Set in V-Ray also allows to switch between different mapping channel variations for their renders.
Workflow
This guide demonstrates mentioned workflow using a cube with two variants - each having a different texture scale.
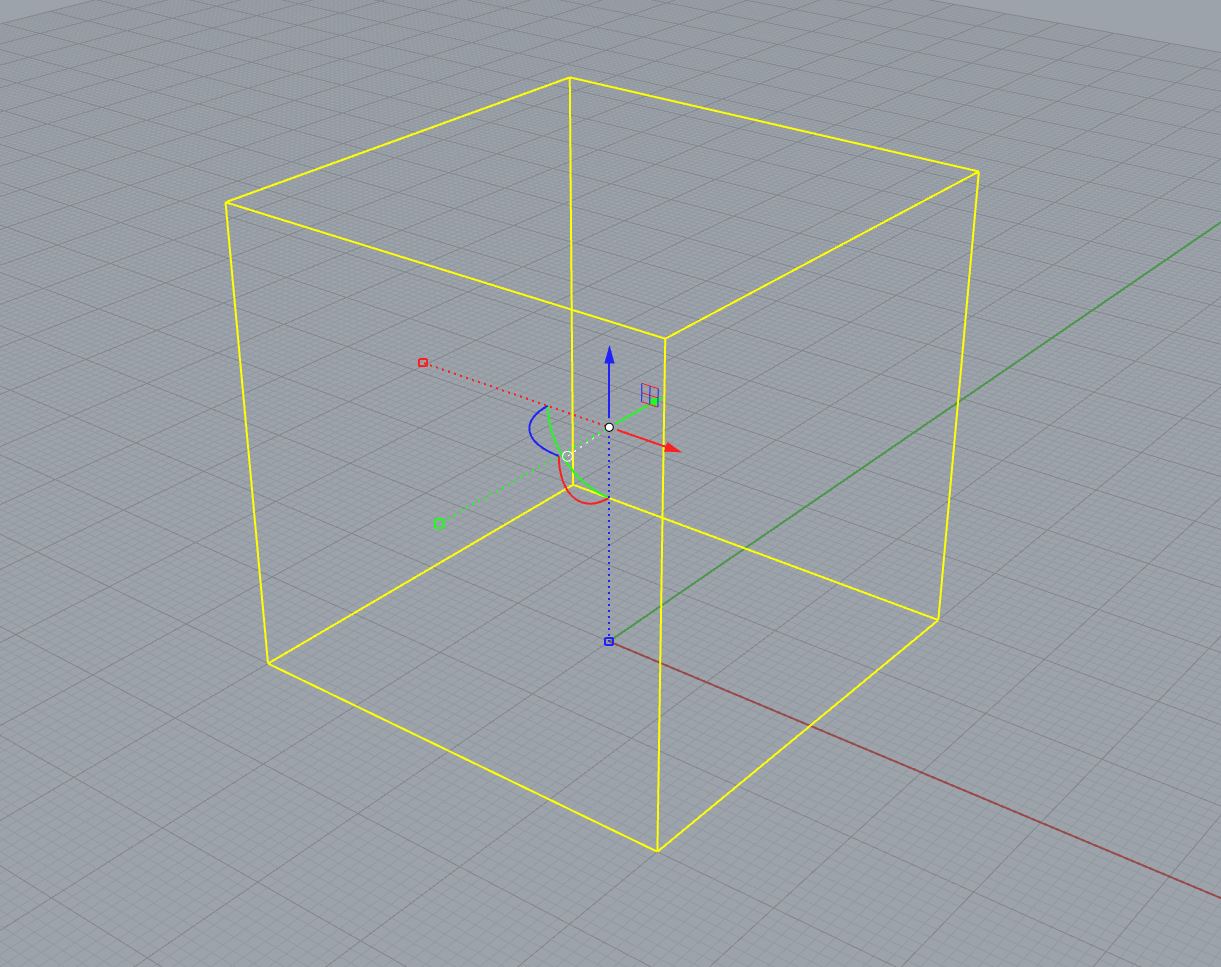
Step 1: Create the cube in Rhino
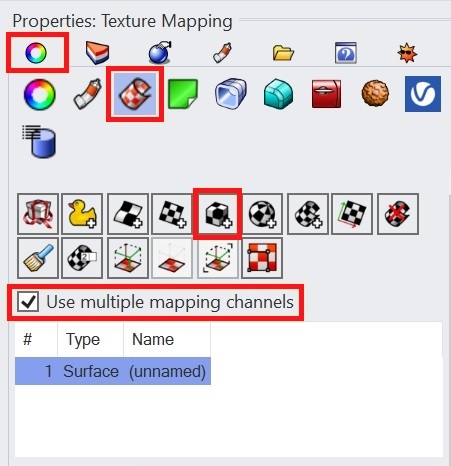
Step 2: Apply Box Mapping
- Open Rhino’s Texture Mapping tools and apply Box Mapping to the cube.
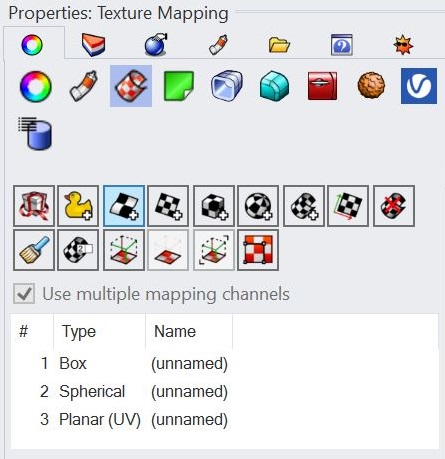
- Enable the Use multiple mapping channels checkbox:
Step 3: Configure mapping channels
- When applying the Box Mapping, you will be asked if you want it Capped - choose Yes.
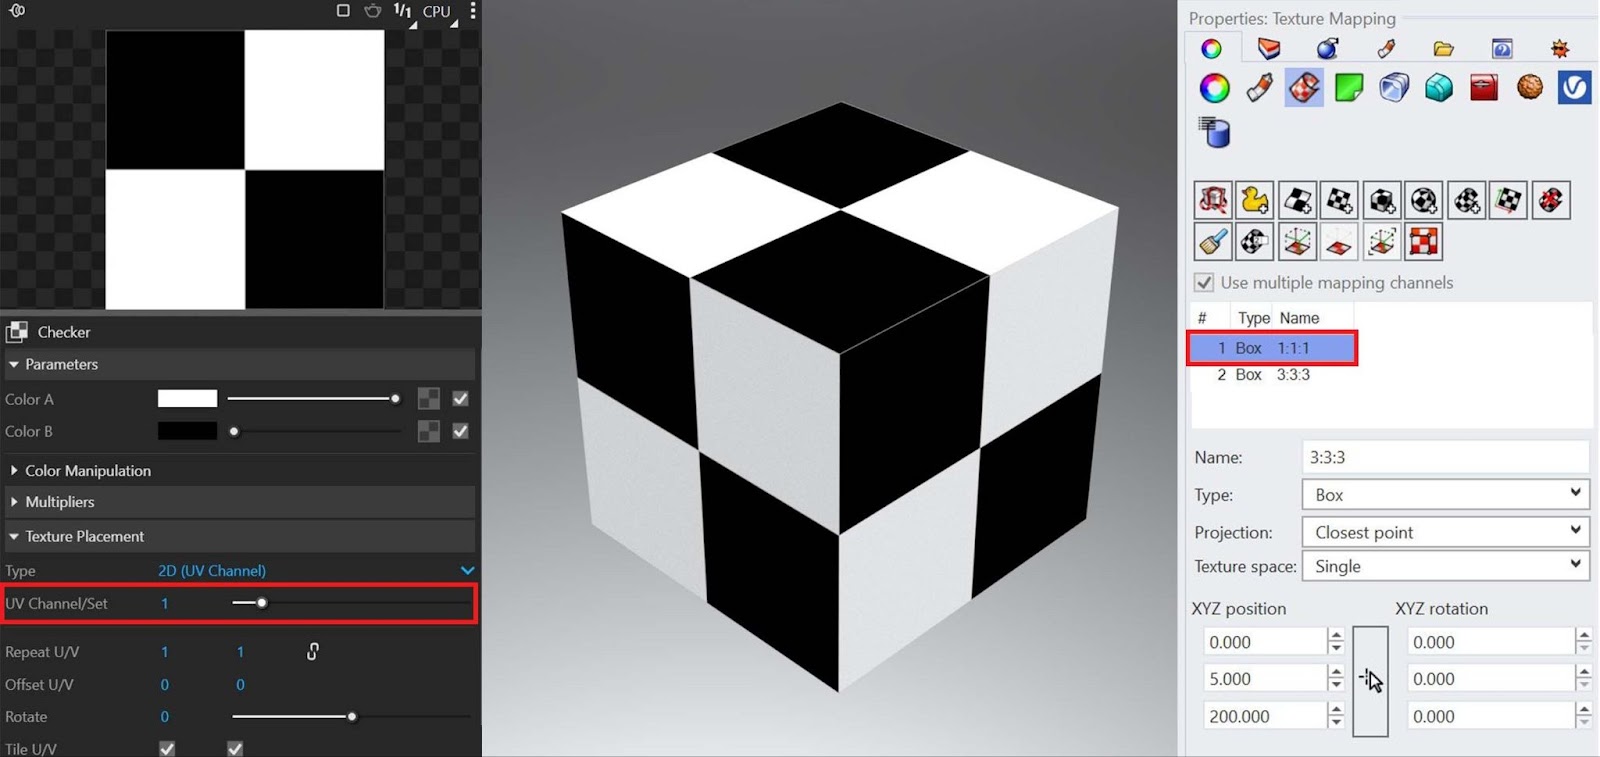
- Press Enter to apply mapping to channel <1>. Note: channel <1> will be left with it's default values.

- Repeat the process to create a second Box Mapping channel <2>.
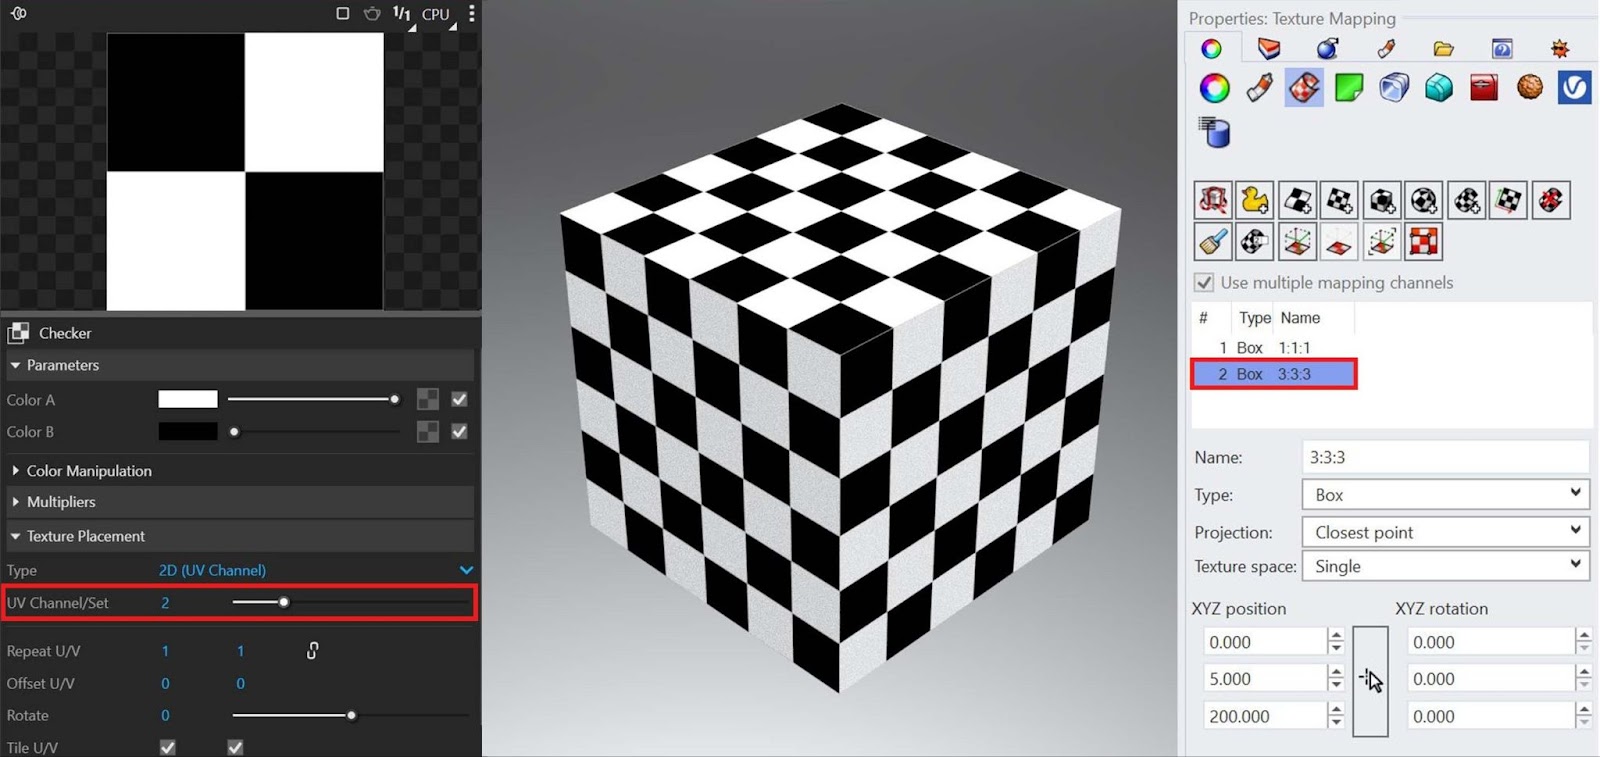
- In channel <2> adjust the UVW repeat parameter to 3.000 for all three values:

Step 4: Apply material and adjust UV Channel
- Apply material to the box. In this example we use Generic material with Checker texture in Diffuse.
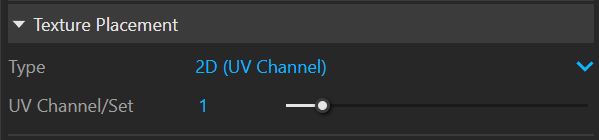
- In the V-Ray Asset Editor, adjust the UV Channel/Set parameter in the Texture Placement rollout - switch between channels “1” and “2” to see different render results: